 Save
Save The first time I made charcuterie chips was by accident, honestly. I'd bought too much prosciutto and salami for a board that never happened, and they were starting to dry out in my fridge. On a whim, I laid some slices on a baking sheet just to see what would happen in a hot oven. Twenty minutes later, I pulled out these impossibly crispy, deeply savory shards that tasted like concentrated umami, and I realized I'd stumbled onto something special. Now they're my secret weapon whenever I need an impressive appetizer that takes almost no effort.
I still remember bringing these to a dinner party where I didn't know many people, and watching someone bite into one and actually close their eyes for a second. They asked what they were tasting, genuinely confused by how good something so simple could be. That moment taught me that the best food isn't about complexity—it's about respecting what you're working with and letting quality ingredients shine.
Ingredients
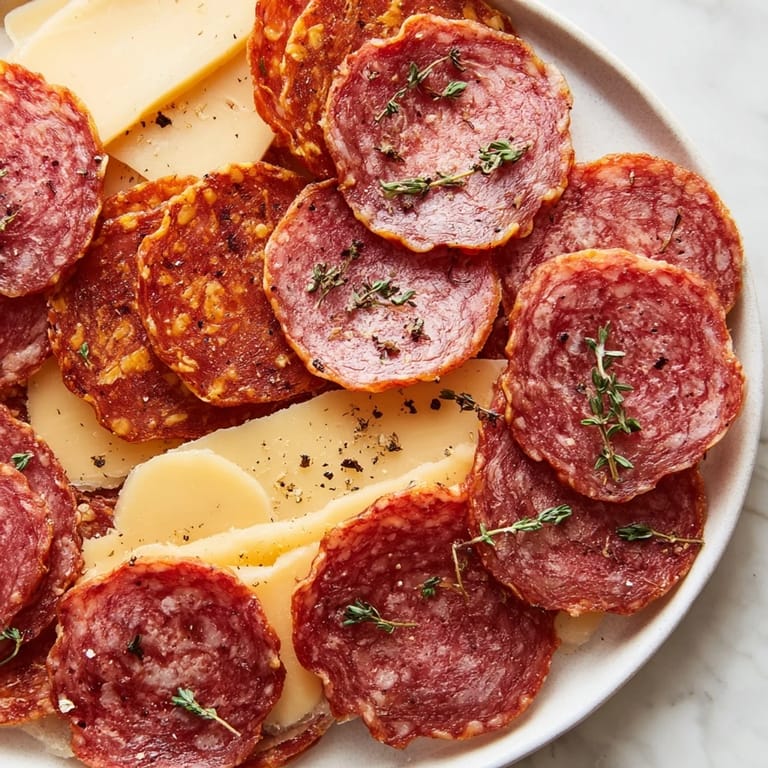
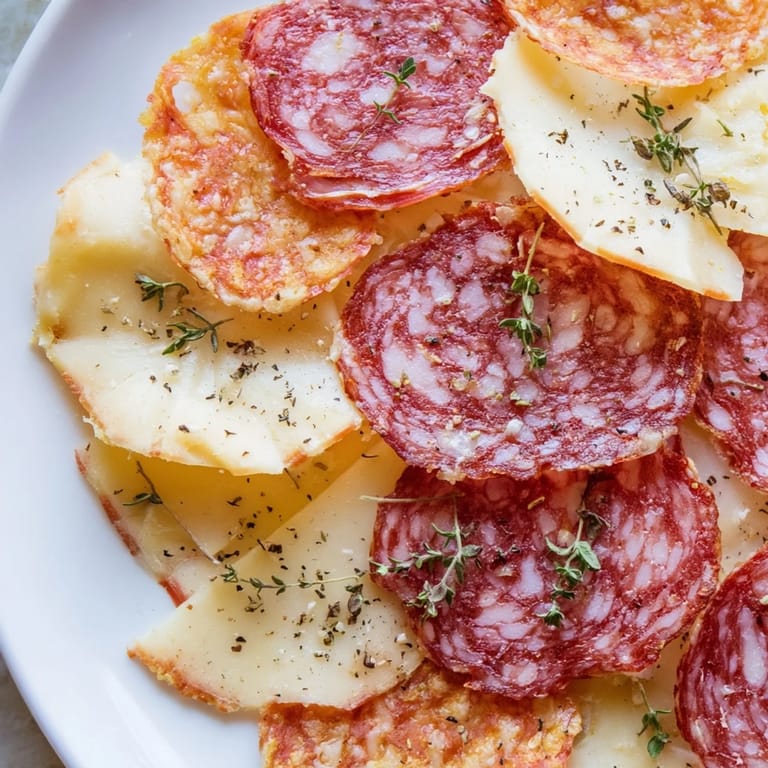
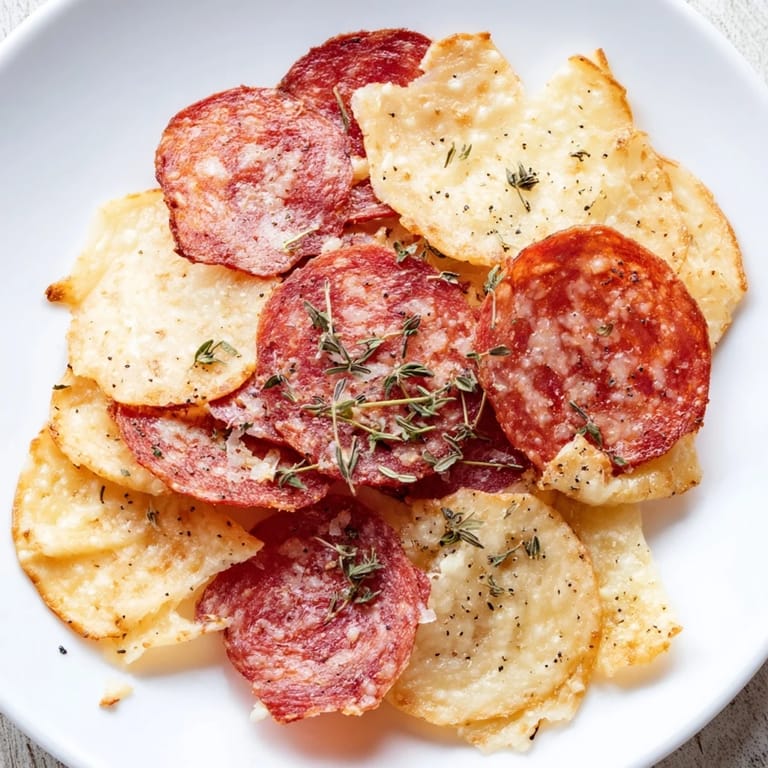
- Thinly sliced salami: Look for a good-quality salami with clear marbling—it should be thin enough to get a little translucent when you hold it up to the light. The thinner your slices, the crispier they'll get.
- Thinly sliced prosciutto: This is delicate stuff, so handle it gently or it'll tear. Prosciutto crisps up faster than salami, so keep an eye on it while baking.
- Thinly sliced pepperoni: The spice and fat in pepperoni means it'll brown beautifully and add a nice color contrast to your finished platter.
- Aged hard cheese (cheddar, Manchego, or Parmesan): The age matters here—it means the cheese has lost moisture and will crisp up instead of melting into a puddle. Skip young, creamy cheeses or you'll end up with grease.
- Semi-hard cheese (Gouda or provolone): These melt slightly and brown at the edges, creating this incredibly satisfying texture contrast with the harder cheese chips.
- Fresh herbs (thyme or rosemary): Don't skip this if you can—a tiny amount of dried herb sprinkled on cheese before baking adds an unexpected flavor dimension that makes people ask questions.
- Cracked black pepper: A generous crack of it on the cheese is simple but makes a real difference in the final taste.
Tired of Takeout? 🥡
Get 10 meals you can make faster than delivery arrives. Seriously.
One email. No spam. Unsubscribe anytime.
Instructions
- Heat your oven right:
- Get it to 375°F and line two separate baking sheets with parchment paper. Two sheets matter because meat and cheese need different baking times, and trying to juggle both on one pan is a recipe for unevenness.
- Arrange the meat with intention:
- Lay your salami, prosciutto, and pepperoni in single layers on the first sheet, making sure they don't overlap or touch. They need that air around them to crisp up properly, not steam themselves into chewiness.
- Set up the cheese:
- Slice your cheeses and arrange them on the second sheet with some space between each piece. If you're using herbs or pepper, sprinkle them now—the heat will toast them slightly and bind them to the cheese.
- Bake the meat first:
- Put the meat in for 8 to 10 minutes, watching for the edges to turn golden and crispy. You'll know it's done when the whole thing feels papery and snaps when you bend it.
- Bake the cheese right after:
- While the meat's finishing, get the cheese in the oven for 6 to 8 minutes. You're looking for golden edges and some bubbling in the centers, not total melting.
- Cool with patience:
- Let the meat cool on the sheet for a few minutes, and the cheese for about 5 minutes before you try to move it. They'll crisp up even more as they cool, so resist the urge to eat them while they're still warm (or don't—I won't judge).
- Bring them together:
- Once everything's cooled, arrange them on a platter however feels right. Serve immediately if you can, while they're still at their crispiest.
 Save
Save There's something almost magical about watching raw ingredients transform so completely in such a short time. My eight-year-old nephew once asked if the cheese had turned into glass, and honestly, he wasn't that far off—the texture is almost unreal.
Why These Work as an Appetizer
Charcuterie chips sit in this perfect middle ground between snack and starter. They're fancy enough that guests think you've done something impressive, but casual enough that nobody expects you to have spent your whole day on them. Serve them on a simple white platter with some olives or cornichons alongside, and suddenly you're the person who knows about food.
Building Your Flavor Combinations
Once you understand how these work, you can play around with what you use. I've made versions with smoked salami and a pinch of smoked paprika on the cheese that taste incredible with a light red wine. Other times I've added chopped rosemary to the cheese, or tried different aged cheeses from whatever looks good at the market. The format stays the same, but your flavor story changes.
Storage and Serving Tips
These are best eaten the same day you make them, when the crispness is still intact. If you do end up with leftovers (which is rare), store them in an airtight container at room temperature, and they'll keep for a couple of days without going totally soft. They'll never be quite as good as fresh, but they're still better than most snacks you could grab.
- Make them up to an hour before serving, and they'll hold their crispness beautifully.
- If you want to prep ahead, slice everything the night before and bake them fresh just before guests arrive.
- Pair them with something to drink—dry white wine, a crisp beer, or even just sparkling water with a lemon if you're keeping it simple.
 Save
Save These little chips have become my favorite thing to make when I want to impress without stress. Every time someone asks me what I'm bringing to a gathering, I smile because I already know what I'm making.
Recipe Q&A
- → What meats work best for these chips?
Thinly sliced cured meats such as salami, prosciutto, and pepperoni yield the best crispy texture.
- → How do I prevent the cheese chips from sticking?
Place cheese slices on parchment paper spaced apart to avoid sticking and make removal easier after baking.
- → Can I add extra flavor to the cheese chips?
Yes, sprinkling smoked paprika or fresh herbs like thyme or rosemary before baking enhances flavor.
- → How long do the chips stay fresh?
Store cooled chips in an airtight container at room temperature for up to two days for best crispiness.
- → What are good pairings for these chips?
These chips pair nicely with olives, pickles, or a light red wine for a complete snack experience.