 Save
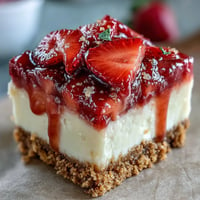
Save My neighbor called me three days before her housewarming party in a mild panic, asking if I could whip up something that looked fancy but wouldn't stress her out. I suggested mini cheesecakes, and she laughed with relief. Turns out, these little gems are deceptively simple to make and somehow feel like you've done something impossibly sophisticated. I've since made them for every celebration that comes my way, and people always assume I spent hours in the kitchen.
I remember standing in my kitchen at midnight, piping cream cheese filling into paper liners while my partner labeled containers for the next morning's delivery. The smell of toasted graham cracker crust mixed with vanilla was so comforting that we ended up taste-testing way more than planned. That night taught me that even rushed, last-minute desserts have a way of tasting like they came from somewhere genuine.
Ingredients
- Graham cracker crumbs: You can crush them yourself from whole crackers or buy them pre-made—either way works, though freshly crushed ones have a nicer texture that holds together better.
- Granulated sugar for the crust: This binds with the butter to create a base that's crispy on the edges and sturdy enough to hold the cheesecake without crumbling.
- Unsalted butter, melted: Melting it first means it distributes evenly throughout the crumbs, creating a uniform crust rather than clumpy patches.
- Cream cheese, softened: This is non-negotiable—take it out of the fridge at least 30 minutes before mixing or you'll end up with lumps that no amount of beating fixes.
- Granulated sugar for the filling: A little extra sweetness balances the slight tang of the cream cheese and sour cream beautifully.
- Large eggs: Room temperature eggs blend more smoothly into the batter and create a creamier texture than cold ones.
- Sour cream: This adds tang and richness while keeping the cheesecake from drying out during baking—don't skip it or substitute with plain yogurt.
- Vanilla extract: Use real vanilla if you have it; the flavor difference in something this simple is honestly noticeable.
- All-purpose flour: Just a tablespoon stabilizes the filling so it sets properly without cracking on top.
- Salt: A pinch brings out the sweetness and prevents the filling from tasting one-dimensional.
Tired of Takeout? 🥡
Get 10 meals you can make faster than delivery arrives. Seriously.
One email. No spam. Unsubscribe anytime.
Instructions
- Prepare your oven and pans:
- Get the oven heating to 325°F while you line the mini muffin tin with paper liners—having everything ready means you won't second-guess yourself once you start mixing.
- Make the crust:
- Combine graham cracker crumbs, sugar, and melted butter in a bowl until it looks like damp sand, then use a measuring spoon to divide the mixture evenly among the liners. Press each one down gently but firmly so it holds together when you bite into it later.
- Beat the cream cheese:
- Start with it at room temperature and beat it alone for about a minute until it's smooth and creamy—this breaks up any lumps before you add anything else. Then add sugar and mix until you can't see any grainy texture.
- Add eggs gently:
- Crack each egg in separately and let it fully incorporate before adding the next one, which keeps the batter from becoming overworked and dense. The filling should look silky at this point, not frothy.
- Fold in the remaining ingredients:
- Add sour cream, vanilla, flour, and salt, then mix just until combined—overmixing at this stage is the enemy and can introduce air bubbles that crack the tops while baking. Stop as soon as you don't see streaks of sour cream.
- Fill the liners:
- Use a spoon or small ice cream scoop to divide the filling evenly, filling each cup until it's nearly at the top but not overflowing. A little restraint here saves you from cheesecake overflow drama.
- Bake with patience:
- Bake for 18 to 20 minutes until the edges are set but the very center still jiggles slightly when you gently shake the pan—this is the sweet spot where they'll be creamy inside rather than dense. The tops shouldn't be golden; pale is perfect.
- Cool gradually:
- Leave them in the pan for 15 minutes after removing from the oven, then transfer to a wire rack to finish cooling. This gradual temperature change prevents the dramatic cracking that happens when you shock them with cold air too quickly.
- Chill thoroughly:
- Refrigerate for at least an hour, though overnight is even better if you have time—chilling sets the structure and makes them much easier to handle and eat. They'll firm up beautifully and taste richer when cold.
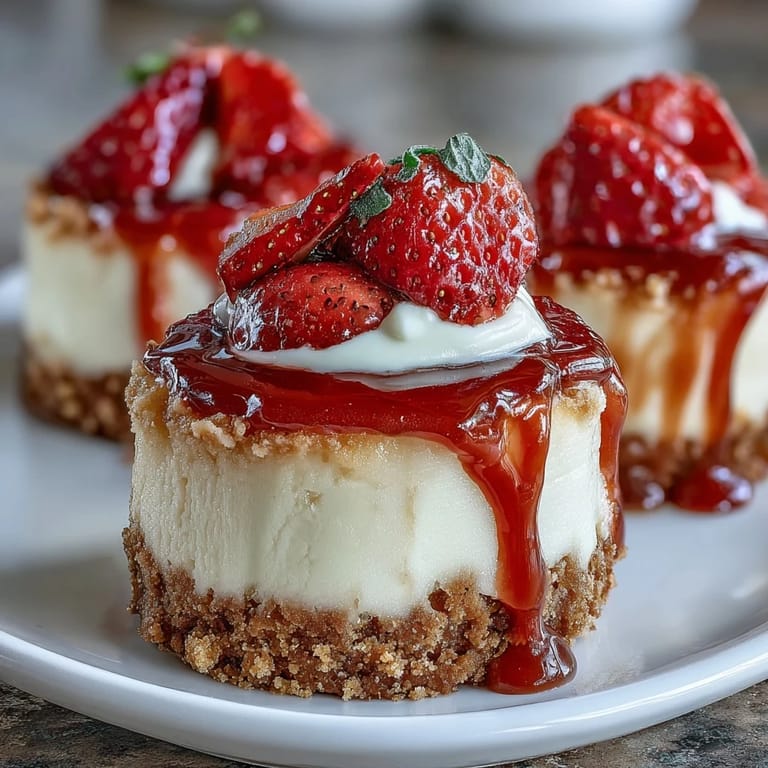
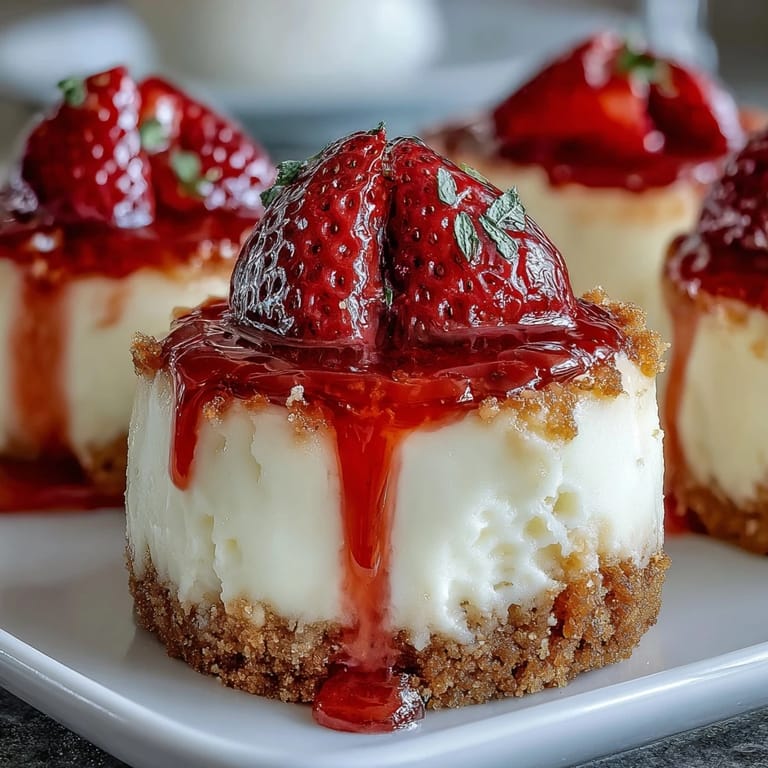
- Top just before serving:
- Whether you choose berries, preserves, whipped cream, or chocolate, add the toppings right before guests arrive so the flavors are fresh and nothing gets soggy.
 Save
Save I served these at a birthday party last spring, and a guest who'd always been intimidated by baking pulled me aside afterward and asked for the recipe because she wanted to make them for her own event. Watching someone find confidence in the kitchen through food you shared with them is honestly one of the small joys that keeps me cooking for others.
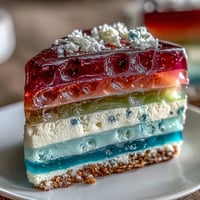
Flavor Variations to Try
Once you nail the basic recipe, experimenting becomes half the fun. I've swirled in chocolate ganache before baking, added lemon zest for brightness, and even tried a brown butter crust when I was feeling adventurous. Each version tastes distinctly different but equally impressive, so don't be afraid to play around based on what's in your pantry or what season you're cooking in.
Make-Ahead Strategy
These cheesecakes are a gift to your future self because you can bake them up to a day before your event, store them covered in the fridge, and just add toppings an hour before serving. I've even frozen them unfrosted for up to two weeks, then thawed them overnight in the refrigerator when I needed them. The key is keeping them covered so they don't absorb any fridge flavors and staying patient with the thawing process.
Serving and Storage Tips
These little cheesecakes stay fresh in the refrigerator for about three days when stored in an airtight container, though honestly they rarely last that long. Serve them straight from the fridge so the texture stays perfect, and don't overthink the plating—sometimes the simplest presentation is the most elegant.
- If you're feeding a crowd, pull them out of the fridge about 10 minutes before serving so they're not ice-cold but still perfectly firm.
- Paper liners make them foolproof to serve since guests can just peel back and eat, no utensils needed.
- Store any leftover topped cheesecakes separately from untopped ones so the toppings don't get soggy.
 Save
Save These cheesecakes have become my go-to when I want to bring something that feels special but doesn't steal my entire day. There's something really satisfying about handing someone a dessert so small and simple but so completely satisfying.
Recipe Q&A
- → What is the best way to achieve a crisp crust?
Mixing graham cracker crumbs with melted butter and sugar thoroughly then pressing firmly into each cup ensures a sturdy, crisp base after baking and chilling.
- → How long should the mini cheesecakes chill before serving?
Chilling for at least one hour allows the filling to firm up, enhancing texture and flavor balance.
- → Can I add fresh fruit toppings to these treats?
Yes, fresh berries, fruit preserves, or even chocolate shavings can be added just before serving for extra flavor and visual appeal.
- → Is there a way to make these gluten-free?
Use gluten-free graham crackers and substitute regular flour with a gluten-free alternative for the filling mix.
- → What baking temperature and time work best?
Bake at 325°F (160°C) for 18-20 minutes until the centers are mostly set but slightly jiggly for a creamy texture.